Perfect 9x4x4 Pullman Bread pan Recipe for You
This 9x4x4 Pullman Bread pan recipe promises slices that are not only irresistibly soft but also perfectly squared for your culinary creations. From sandwiches and toasts to French toast and more, this bread's versatility knows no bounds. With a touch of elegance and a dash of homemade goodness, your baking journey is about to become even more delightful.
- 7/8 (198g to 227g) cups Lukewarm Water
- 1 (32g) tablespoon honey
- 1 1/2 (9g) teaspoon Salt
- 2 (28g) tablespoons Soft butter
- 2 1/4 teaspoons Instant yeast
- 3 1/4 (390g) cups Unbleached All-Purpose Flour (or nonfat dry milk)
- 1/4 (28g) cup Special Dry Milk (Nonfat dry milk)
- Prepare Your Ingredients:
Begin by weighing or measuring your flour accurately. Mix all the ingredients in the order listed, either by hand or using a stand mixer, until a smooth dough forms. The dough should feel bouncy and elastic to the touch.
- First Rise:
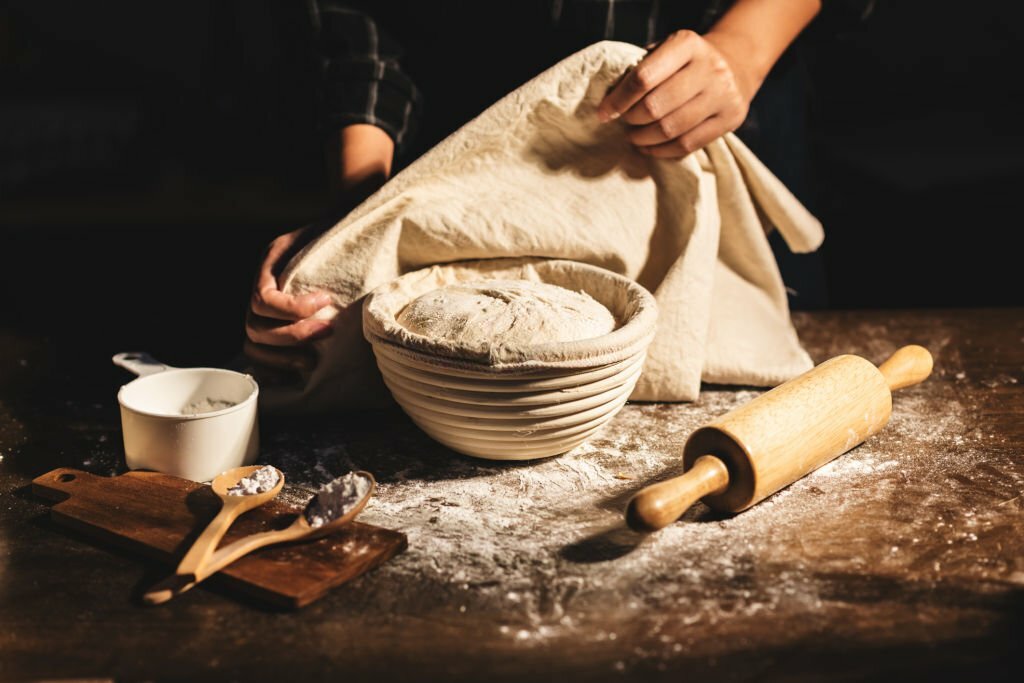
Place the dough in a lightly greased bowl or an 8-cup measuring cup. Cover it and allow it to rise for 60 to 90 minutes. During this time, the dough will become noticeably puffy, though it might not necessarily double in size.
- Shape the Dough:
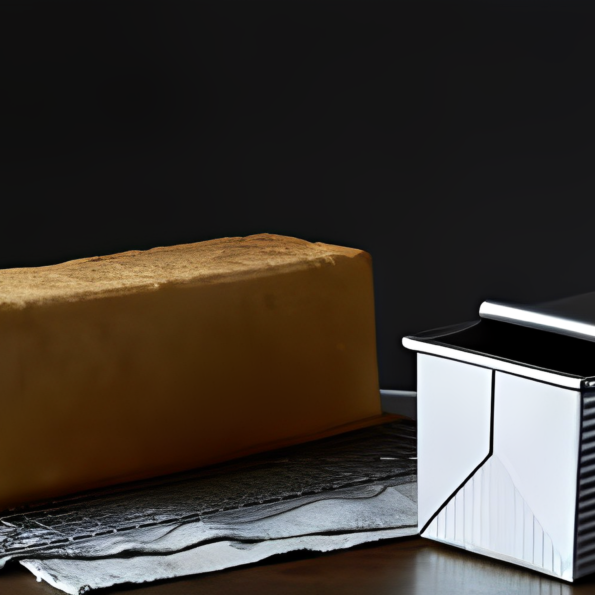
Gently deflate the risen dough and shape it into a 9" log. Place the dough in a lightly greased 9" pain de mie pan. To prevent the dough from sticking, cover the pan with plastic wrap.
- Second Rise:
Let the dough rise for about 60 minutes, until it reaches approximately 1/2" from the top edge of the pan. As the dough rises, preheat your oven to 350°F (175°C).
- Baking Time:
Remove the plastic wrap and gently slide the greased lid onto the pan. Place the pan in the preheated oven and bake the bread for 25 minutes. Afterward, remove the lid and continue baking for an additional 5 to 10 minutes, or until the bread achieves a rich golden brown color.
- Checking Doneness:

You can use an instant-read thermometer to ensure the bread's internal temperature reads between 195°F to 200°F (90°C to 93°C). If you prefer a lighter crust, tent the loaf with foil as soon as you remove the pan lid.
- Cool and Store:
Once the bread is baked to perfection, remove it from the oven and gently turn it out onto a cooling rack. Allow the bread to cool completely before wrapping it in plastic. Store the bread at room temperature for ultimate freshness.
Serving Size 1 slice (41g)
Servings 18
- Amount Per Serving
- Calories 100kcal
- % Daily Value *
- Total Fat 1.5g3%
- Saturated Fat 1g5%
- Cholesterol 5mg2%
- Sodium 200mg9%
- Total Carbohydrate 19g7%
- Dietary Fiber 1g4%
- Sugars 2g
- Protein 3g6%
* Percent Daily Values are based on a 2,000 calorie diet. Your daily value may be higher or lower depending on your calorie needs.
Yield and Tips
This recipe yields one 9" loaf, which can be sliced into approximately 18 to 24 servings, depending on your preferred thickness. For an exciting variation, consider making a tangy sourdough version by substituting 227g (1 cup) of sourdough starter discard for 113g (1/2 cup) of water and 113g (1 cup) of flour. Adjust the remaining water and flour accordingly based on your starter's consistency.
- Flour Consistency: For accurate measurements, either weigh your flour or use the spoon-and-level method. This helps ensure the right flour-to-liquid ratio, resulting in a consistent and manageable dough.
- Yeast Activation: To ensure your yeast is active, use lukewarm water (around 110°F or 43°C) when mixing. Yeast thrives in a warm environment, and the honey acts as a natural source of food for the yeast.
- Balancing Humidity: Adjust the amount of water based on the climate. In humid conditions, opt for the lower end of the water measurement. Conversely, in drier climates, use the higher amount. This helps you achieve the right dough consistency regardless of the weather.
- Kneading Technique: When kneading, aim for a smooth, elastic dough. Knead until it's bouncy to the touch, but don't overdo it, as excessive kneading can lead to a dense loaf.
- First Rise Time: The dough's rise time can vary based on temperature and yeast activity. The goal is a noticeably puffy dough, which might not necessarily double in size. Keep an eye on it to avoid over-proofing.
- Shaping: When shaping the dough into a log, ensure it fits the length of your 9x4x4 pan. Gently tuck the ends underneath to create a uniform shape.