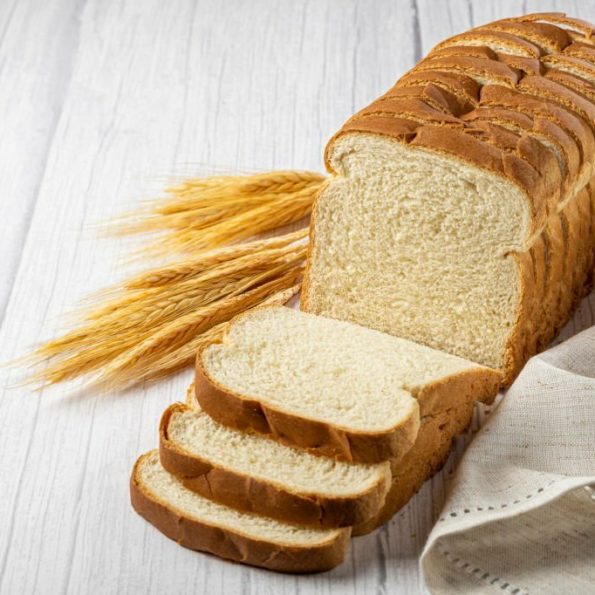
A Wholesome Journey with 100% Whole Wheat Pain de Mie
With these insider tips in your baking arsenal, you're armed to create a whole wheat Pain de Mie recipe that rivals the best artisanal loaves. Remember, the journey to baking perfection is an adventure that combines skill, precision, and a dash of creativity. So, roll up your sleeves, embrace these expert insights, and embark on a flavorful journey that will leave your taste buds – and those of your loved ones – utterly delighted.
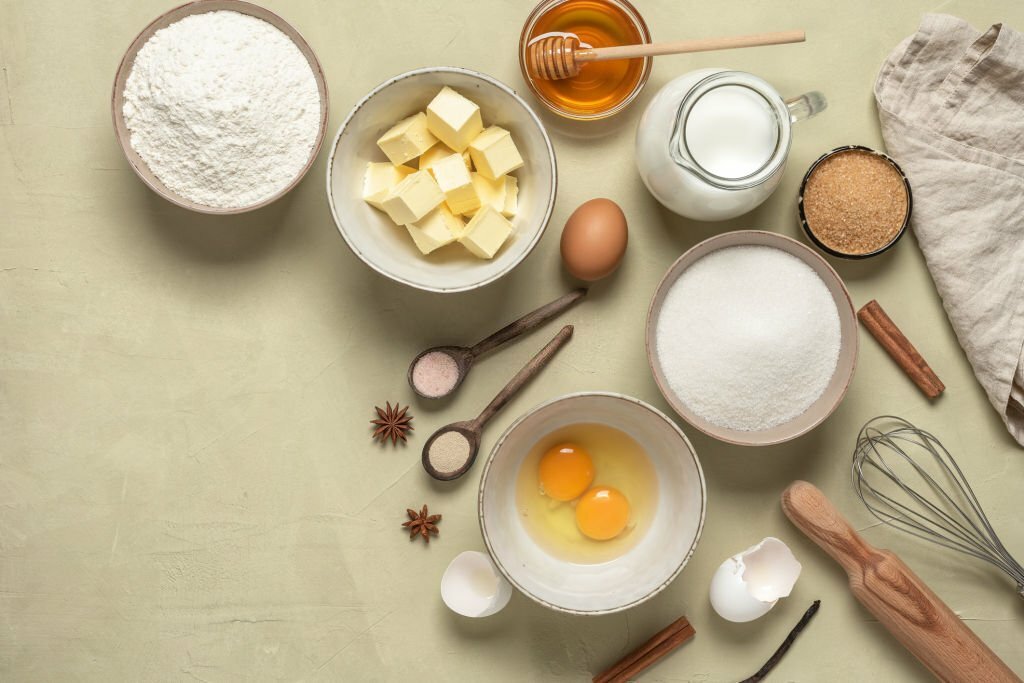
- 3/4 (170g) cups Lukewarm Milk
- 2/3 (152g) cups Lukewarm Water
- 4 (57g) tablespoons Butter
- 1/2 (9g) teaspoon Salt
- 2 (43g) tablespoons Honey
- 1/4 (28g) cup Baker's Special Dry Milk (or nonfat dry milk)
- 1/4 (46g) cup Potato Flour
- 3 1/2 (397g) cups White Whole Wheat Flour
- 2 1/4 teaspoons Instant yeast
- Preparation:
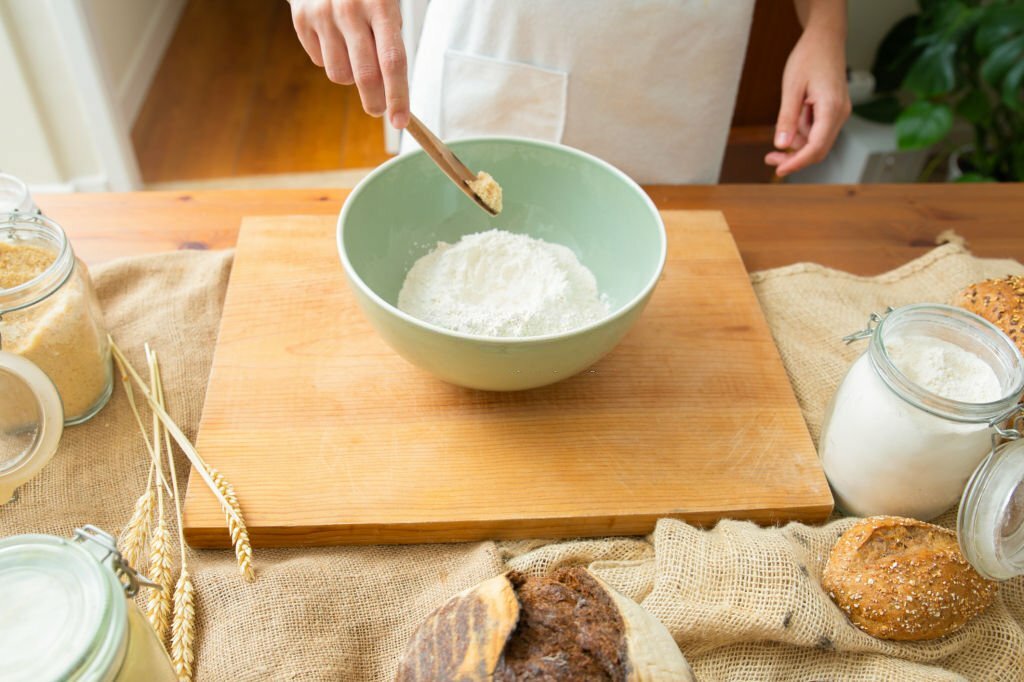
Start by weighing your flour or gently spooning it into a measuring cup and then leveling off any excess. In a bowl, combine all the ingredients and knead until a smooth, supple dough forms. You can do this by hand, using a mixer, or a bread machine.
- First Rise:
Transfer the dough to a lightly greased bowl or dough-rising bucket, cover it, and allow it to rise until it's puffy (though not necessarily doubled in size). This should take around 1 1/2 hours.
- Grease the Pan:
Lightly grease a small (9" x 4" x 4") lidded pain de mie (Pullman) pan.
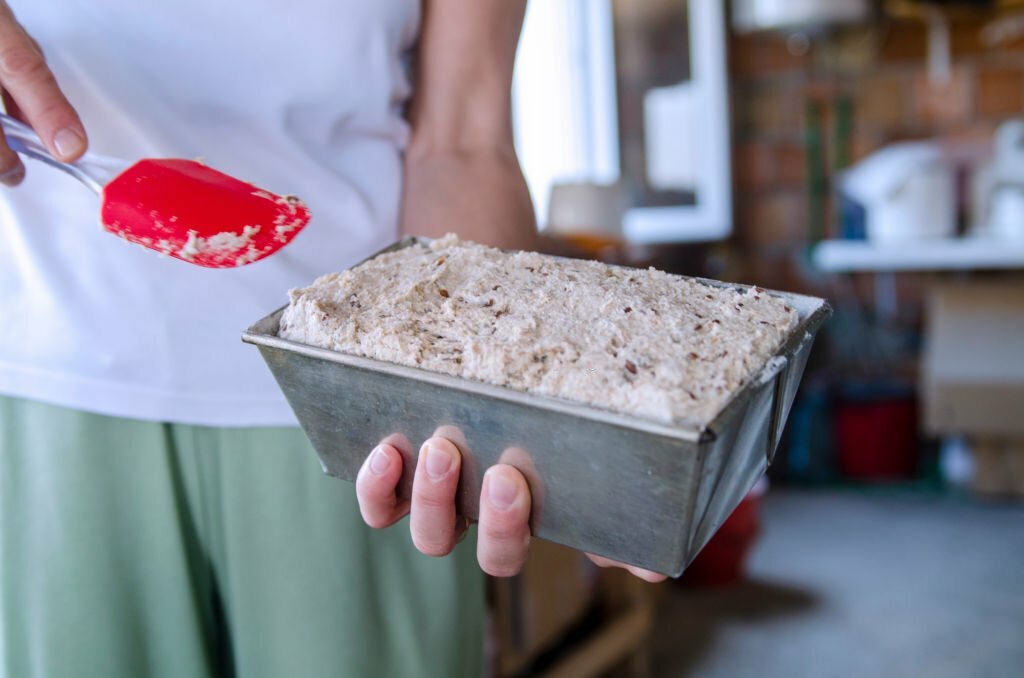
- Shaping:
Transfer the risen dough to a lightly greased work surface and shape it into a log that fits the pan. Flatten the top as much as possible.
- Second Rise:
Cover the pan with lightly greased plastic wrap and let the dough rise until its center is about 3/4" below the lip of the pan. This should take around 60 to 90 minutes. Preheat your oven to 350°F towards the end of this rising time.
- Baking:
Once the dough has risen, remove the plastic wrap and carefully slide the cover onto the pan. Bake the bread for 30 minutes. After this, remove the pan from the oven, take off the lid, and return the bread to bake for another 10 minutes, until it's beautifully golden-brown and tests done. You can check its readiness by using an instant-read thermometer – it should register at least 190°F when inserted into the center.
- Cooling:
Take the bread out of the oven and turn it out of the pan onto a cooling rack. Let it cool completely. For a soft and flavorful crust, brush the loaf with melted butter while it's still warm.
Serving Size 1
Servings 26
- Amount Per Serving
- Calories 130kcal
- % Daily Value *
- Total Fat 3g5%
- Saturated Fat 2g10%
- Cholesterol 10mg4%
- Sodium 200mg9%
- Total Carbohydrate 21g8%
- Dietary Fiber 3g12%
- Sugars 3g
- Protein 4g8%
* Percent Daily Values are based on a 2,000 calorie diet. Your daily value may be higher or lower depending on your calorie needs.
Embrace Wholesome Goodness
The journey to creating a delightful 100% whole wheat Pain de Mie recipe is both rewarding and nourishing. This recipe not only captures the essence of homemade goodness but also delivers a bread that's rich in flavor and packed with nutrients. So, venture into your kitchen armed with this recipe, and let the aroma of freshly baked whole wheat bread fill your home. Your taste buds and your body will thank you for this wholesome delight.
-
Insider Tips from Expert Bakers for Perfect Whole Wheat Pain de Mie
Crafting a flawless whole wheat Pain de Mie requires more than just following a recipe – it demands the touch of a seasoned baker's expertise. Here are invaluable tips straight from the baking pros to ensure your journey into the world of this delightful loaf is a resounding success.
- Flour Consistency: Achieving the ideal texture hinges on flour. Professional bakers recommend using a kitchen scale to precisely measure flour, ensuring a consistent and accurate outcome. This approach guarantees a balanced dough that rises just right.
- Dough Kneading: Kneading the dough to perfection is an art. Seasoned bakers stress the importance of kneading until the dough reaches a supple, elastic consistency. This step is pivotal in developing the gluten structure, resulting in that coveted fine texture.
- Rising Wisdom: Patience is key during rising. Expert bakers suggest allowing the dough to rise until it's puffy, rather than strictly adhering to doubling in size. This approach maintains the desired crumb structure, lending the loaf its trademark non-crumbly texture.
- Precise Pan Prep: Greasing the pan adequately is crucial. Professionals recommend using a pastry brush to ensure even coverage. This step prevents any sticking issues and helps achieve a beautiful loaf shape.
- Proper Shaping: The shaping process is where the magic happens. Seasoned bakers advise gently handling the dough to avoid overworking it. Carefully fitting the dough into the pan creates an evenly baked, beautifully risen loaf.
- Timing and Temperature: Baking is a dance between timing and temperature. Experts emphasize preheating the oven accurately and keeping a close eye on the bread as it bakes. This diligence prevents over-baking and results in a golden-brown, perfectly cooked loaf.
- Lid Application: Placing the lid on the pan is a defining step in Pain de Mie baking. Bakers suggest handling the lid with care to avoid deflating the dough. This lid creates the signature close-grained texture that sets this bread apart.
- Testing for Doneness: While a thermometer is a handy tool, experienced bakers know that tapping the loaf's bottom for a hollow sound also indicates doneness. This time-honored method adds an extra layer of confidence to your baking journey.
- Cooling Mastery: Patience continues to be a virtue even after baking. Allowing the loaf to cool completely on a rack prevents the crust from becoming soggy. It also ensures the flavors settle, creating a well-rounded taste.
- Butter Brushing Technique: For that coveted soft crust, bakers recommend brushing the loaf with melted butter while it's still warm. This final touch adds a burst of flavor and seals the deal on your whole wheat Pain de Mie masterpiece.