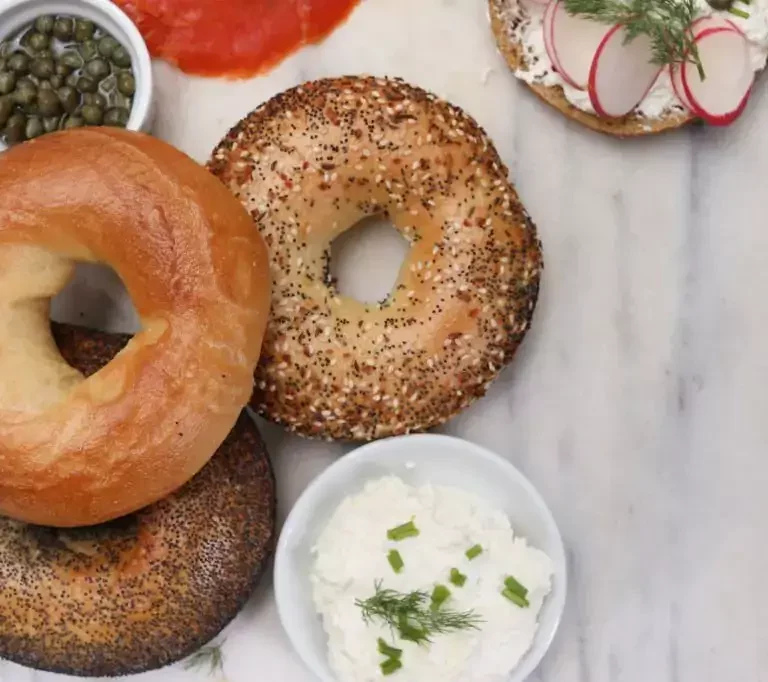
Bagels, with their chewy exterior and soft interior, have become a beloved breakfast staple around the world. Making bagels at home might sound daunting, but with this easy-to-follow simple bagels recipe, you can enjoy the satisfying experience of crafting your own batch of simple yet delectable bagels. This step-by-step simple bagels recipe guide will walk you through the process, from creating an overnight starter for enhanced flavor to achieving perfectly boiled and baked bagels that rival your favorite bakery.

Deliciously Simple Bagels Recipe
Description
By following these expert tips, you'll not only master the art of creating simple bagels recipe but also discover the joy of crafting bakery-quality delights from the comfort of your own kitchen. With a little attention to detail and a dash of patience, your homemade simple bagels recipe will rival those found in your favorite bakery.
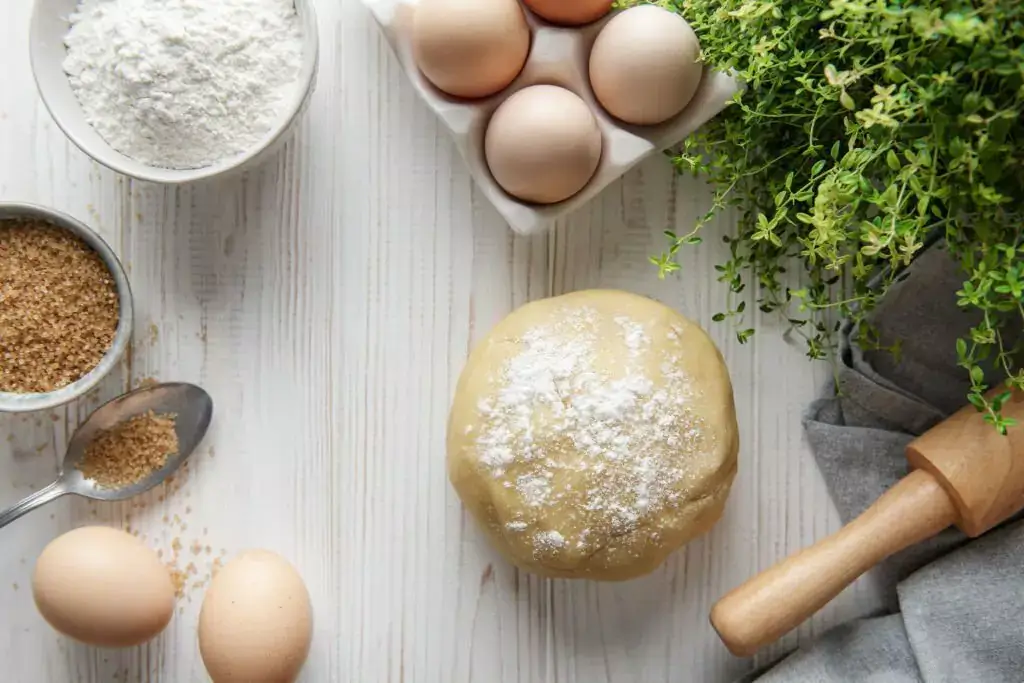
Ingredients for Simple Bagels recipe:
Starter:
Dough:
Water Bath:
Topping (Optional):
Instructions
The Baking Process
-
A Taste of Tradition: The Overnight Starter
The heart of any simple bagels recipe is its dough, and this recipe kicks things off with an overnight starter. The starter, consisting of Unbleached Bread Flour, water, and a pinch of instant yeast, ferments overnight to develop deep flavors. This extra step sets the foundation for bagels that stand out with taste and texture.
To create the starter, simply combine the ingredients in a medium-sized bowl and allow them to rest at room temperature overnight. This resting period encourages the yeast to work its magic, resulting in a dough that's bursting with flavor.
-
Crafting the Bagel Dough: Mixing and Kneading
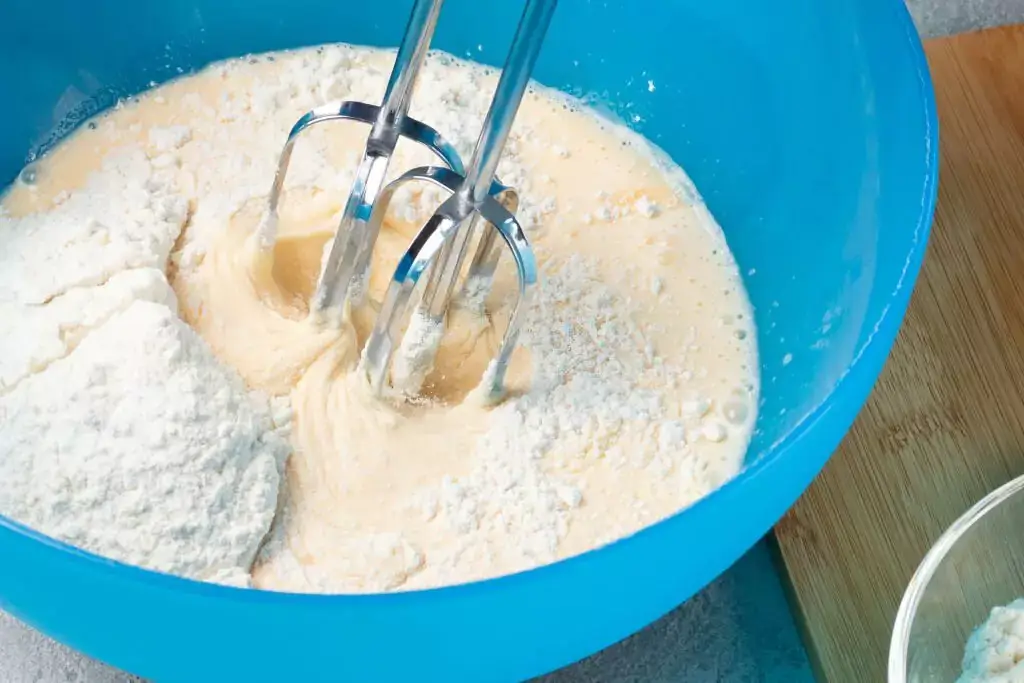
The following day, it's time to bring your simple bagels recipe to life. Mix the overnight starter with Unbleached Bread Flour, water, salt, and instant yeast. Whether you choose to knead the dough by hand, with a mixer, or using a bread machine, aim for a smooth, stiff, yet not dry consistency.
Place the dough in a lightly greased bowl, cover it, and let it rise for an hour. After the initial rise, gently deflate the dough and allow it to rest for another 30 minutes. This process contributes to the bagels' structure and texture, ensuring they are light and airy while still maintaining their signature chewiness.
-
Shaping the Bagels: A Hands-On Approach
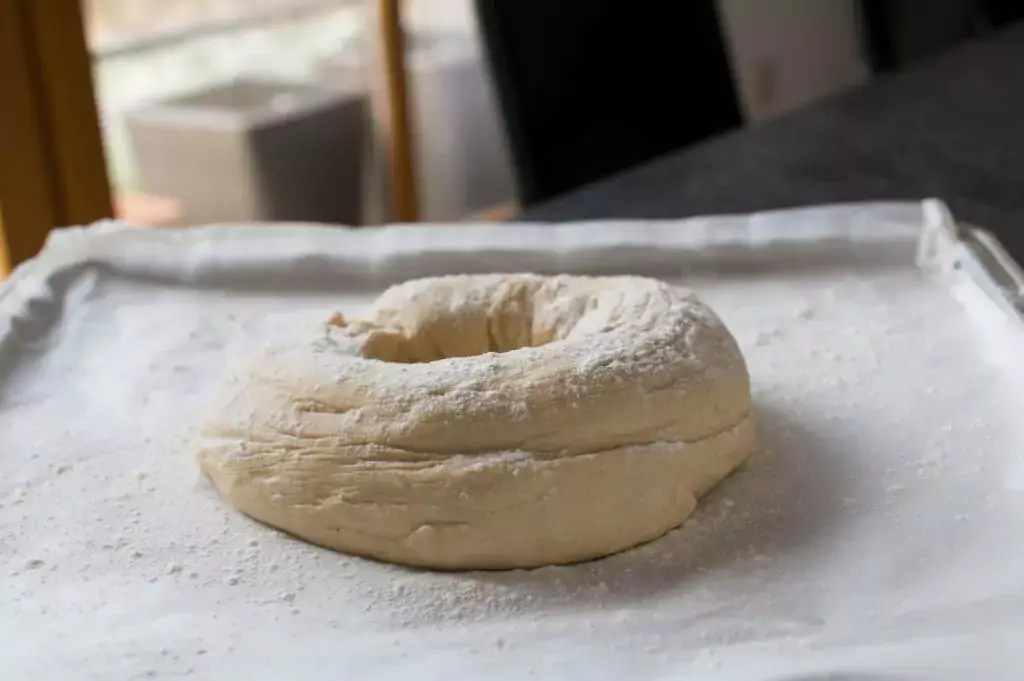
Now comes the fun part – shaping the bagels. Divide the dough into 12 equal pieces, rolling each into a smooth ball. Cover the balls with plastic wrap and let them rest for 30 minutes. During this time, the dough will slightly puff up, making it easier to shape the bagels.
With your dough balls ready, it's time to create the classic bagel shape. Gently poke a hole through the center of each ball using your index finger. Then, twirl the dough on your finger to stretch the hole until it's about 2 inches in diameter. This will result in bagels that are about 3 inches across.
-
Into the Water Bath: Enhancing Texture and Flavor
A crucial step in achieving that iconic bagel texture is the water bath. Prepare a wide-diameter pan filled with water and either non-diastatic malt powder or brown sugar. The malt powder contributes to the bagels' distinct chewiness and helps create that beautiful golden crust during baking.
Gently boil the bagels in the water bath, flipping them over after 2 minutes and boiling for an additional minute. This process sets the bagels' exterior, creating a slightly crunchy crust that contrasts with the soft interior.
-
Baking to Perfection: A Golden Finish
Preheat your oven to 425°F (220°C) as the bagels boil. Once boiled, transfer the bagels to a baking sheet, and if desired, top them with sesame seeds or poppy seeds. Baking for around 25 minutes will result in deep brown, beautifully baked bagels.
For an added layer of flavor and texture, consider spraying the bagels with water and sprinkling seeds on them around the 15-minute mark of baking. This simple step enhances the appearance and taste of your bagels, making them visually appealing and even more enjoyable to eat.
-
The Final Flourish: Cooling and Storing
Once out of the oven, resist the urge to dive in immediately. Allow the bagels to cool completely on a rack. This step ensures that the bagels are set properly and allows their flavors to meld.
For optimal freshness, store the bagels in a plastic bag for up to 5 days. If you want to savor your bagels over a more extended period, they can be frozen for up to 3 months. To freeze, slice the bagels most of the way before placing them in a plastic bag. This convenient approach lets you enjoy your homemade bagels anytime by simply toasting them straight from the freezer.
Serving Size 1
Servings 16
- Amount Per Serving
- Calories 120kcal
- % Daily Value *
- Total Fat 2g4%
- Saturated Fat 1g5%
- Cholesterol 5mg2%
- Sodium 180mg8%
- Total Carbohydrate 21g8%
- Dietary Fiber 3g12%
- Sugars 2g
- Protein 4g8%
* Percent Daily Values are based on a 2,000 calorie diet. Your daily value may be higher or lower depending on your calorie needs.
Note
Expert Tips for Perfect Homemade Bagels:
- Weigh Your Ingredients: For consistent results, it's recommended to weigh your flour and other ingredients rather than relying solely on volume measurements. This ensures accurate proportions and a balanced dough.
- Overnight Starter Magic: Allowing the starter to ferment overnight enhances the bagels' flavor profile. This patient step lets the yeast work its magic, resulting in bagels with a delightful depth of taste.
- Balancing Dough Consistency: When kneading the dough, aim for a smooth, stiff yet not dry consistency. Adjust the flour or water as needed to achieve the right balance. A well-hydrated dough contributes to the bagels' desired texture.
- Patience with Rising: Give your dough ample time to rise. The initial rise of an hour and the subsequent 30-minute rest ensure that your bagels will be light, airy, and perfectly chewy.
- Shaping: A Gentle Touch: Gently shape the dough into balls and let them rest. This short rest period allows the dough to relax, making it easier to shape the bagels without overworking them.
- Malt Powder for Authenticity: Opt for non-diastatic malt powder for the water bath. This traditional ingredient contributes to the bagels' chewiness and helps achieve that golden-brown crust.
- Boiling for Texture: Boiling the bagels briefly before baking is essential for creating that iconic bagel texture. The brief dip in simmering water sets the crust and gives bagels their distinctive chewy exterior.
- Top It Off with Seeds: Elevate your bagels' appearance and taste by adding sesame or poppy seeds. Sprinkle them on before baking or during to infuse your bagels with an extra layer of flavor and visual appeal.
- Baking Timing and Spritzing: Keep a close eye on your bagels as they bake. Around the 15-minute mark, spritzing them with water and adding seeds ensures a crispy, flavorful crust that enhances the overall bagel experience.
- Cool Before Savoring: As tempting as it is to dive into freshly baked bagels, allow them to cool completely on a rack. This step lets the flavors meld and ensures a proper set for the perfect bite.
